Installing a rainwater tank on a sloped or uneven property can be challenging, but with careful planning and consideration, it is possible to successfully install and maintain a rainwater tank on any type of terrain. Here are some steps to help guide you through the process:
Consider the type of tank you will use
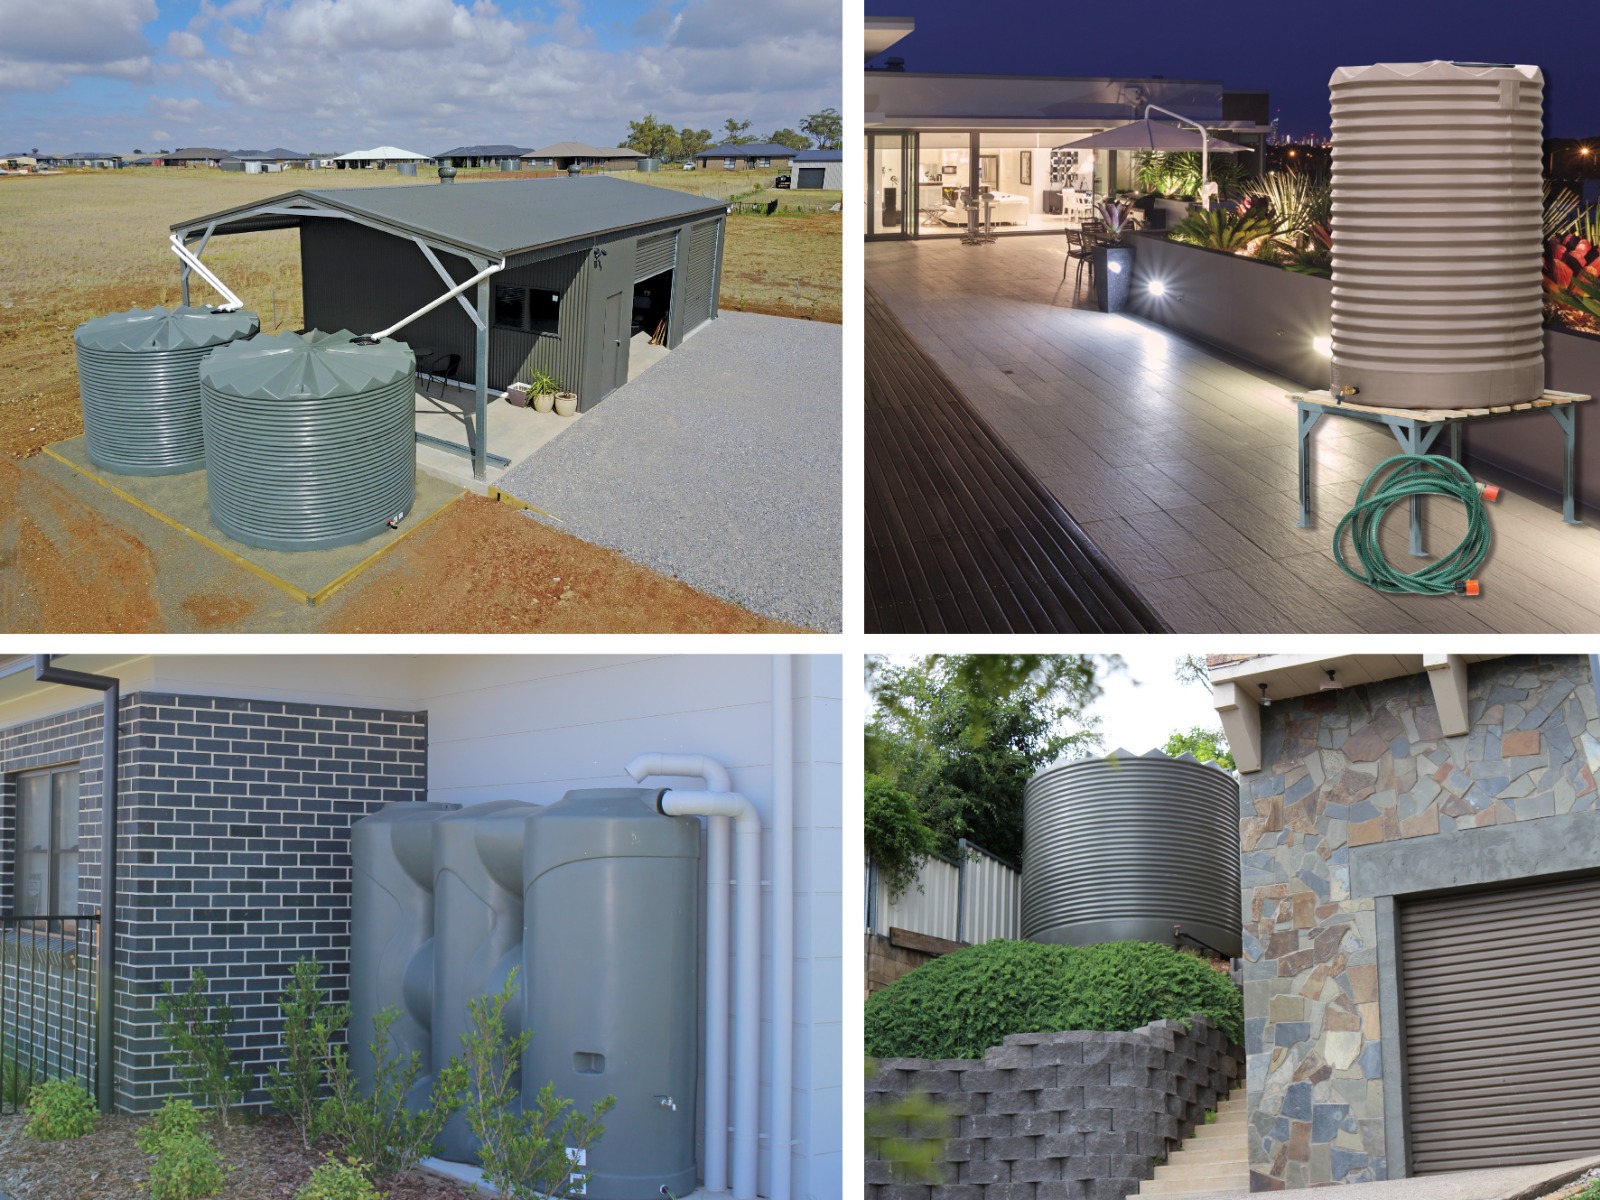
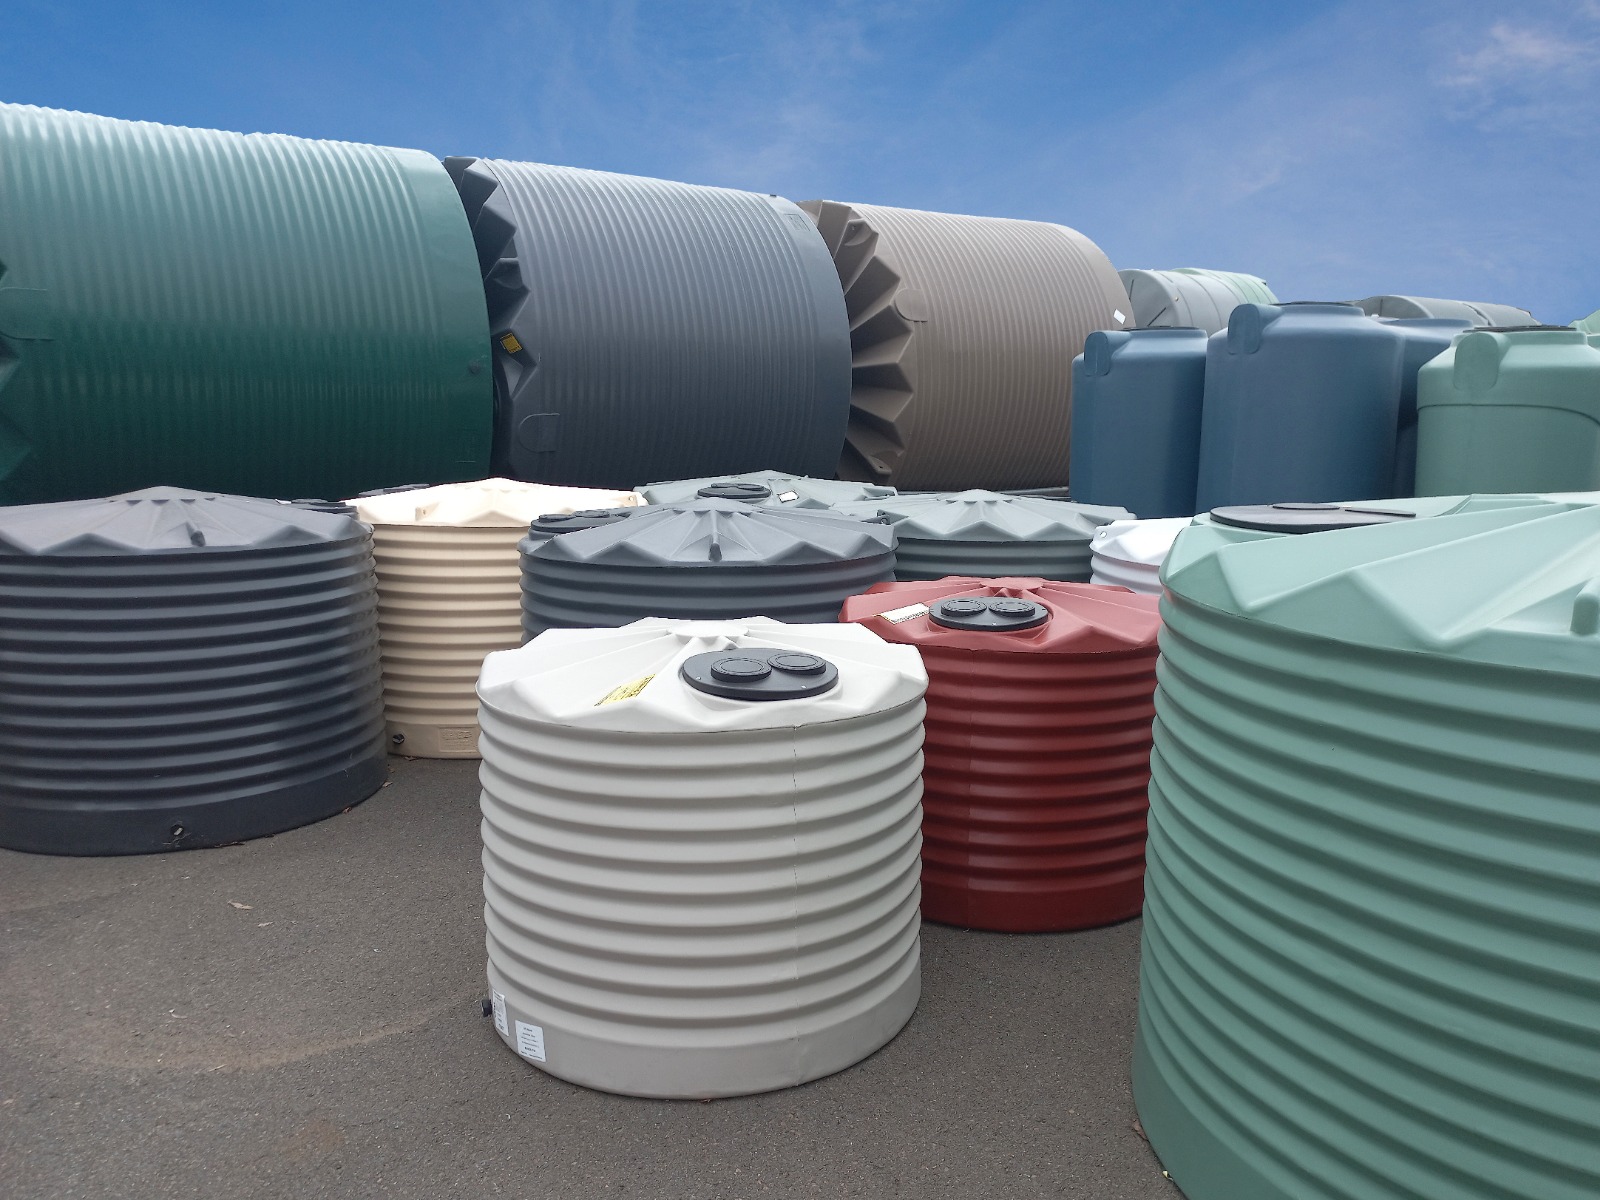
There are various types of poly rainwater tanks, including round and slimline tanks. Slimline tanks are designed to be installed against a wall, under eaves or in a narrow space. Round tanks can be used on sloped or uneven surfaces, but they will probably require additional site preparation to provide support and stabilisation.
Determine the best location for your tank
When installing a rainwater tank on a sloped or uneven property, it is important to consider the location of the tank in relation to your gutters and downpipes. The tank should be placed as close as possible to the gutters. Additionally, the tank should be situated in an area that provides easy access for maintenance and cleaning.
Prepare the site
Before installing your tank, clear the area of any vegetation and level the ground as much as possible. Given the weight of water contained in a full water tank, if you have any concerns about the suitability of the site you have selected, be sure to get the advice of an appropriately qualified engineer and ensure the pad is constructed by professionals.
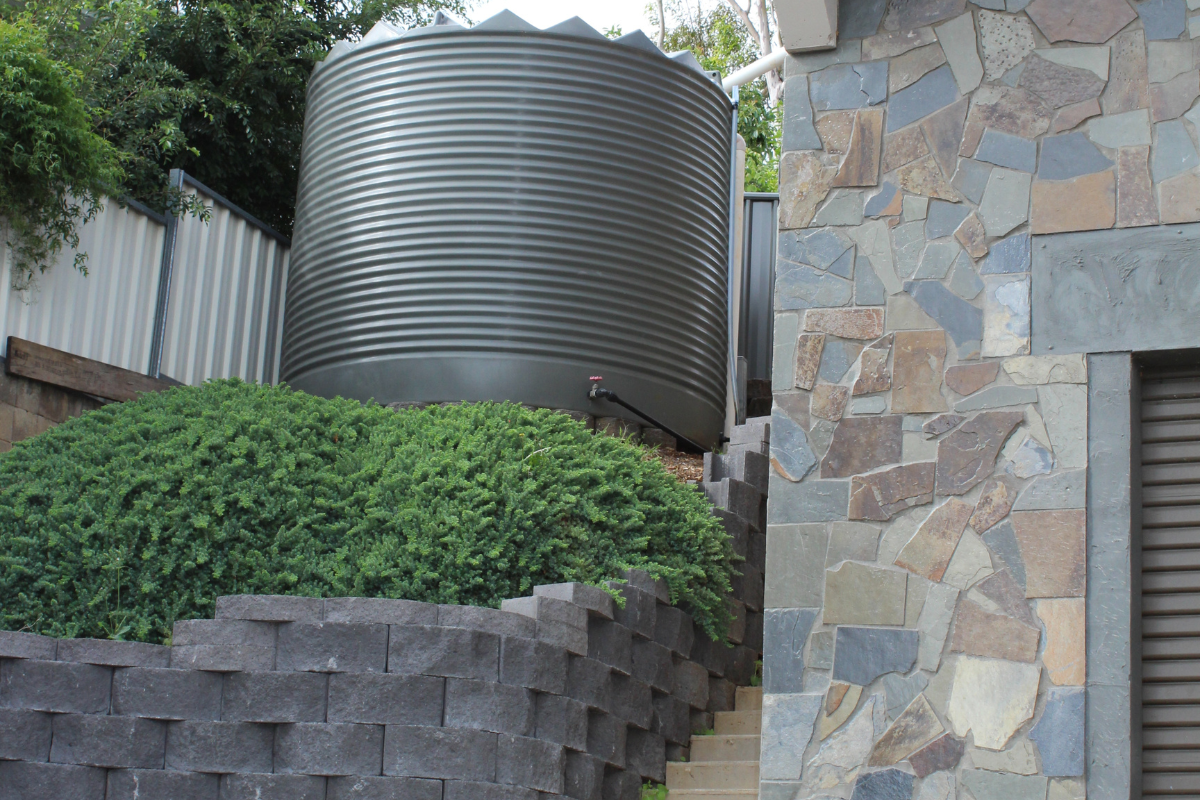
If necessary, consider using retaining walls or other methods to create a stable support structure for the pad. The tank should sit on a level pad of compacted gravel or crushed rock - to see our video on pad preparation, click here.
Additionally, it is important to ensure that the area is free of any underground pipes or cables that could be damaged during the installation process.
Install the tank
Once the site has been prepared, it is time to install the tank. Poly tanks are lightweight and can often be moved into position without the need for specialised equipment. When positioning the tank, make sure that the outlets and overflows are oriented in the correct direction. If installing a slimline tank, make sure it is properly secured to the wall or structure it will be against. Be sure to follow the manufacturer's instructions carefully during the installation process to ensure a successful outcome.
Connect the tank to your gutters and down pipes
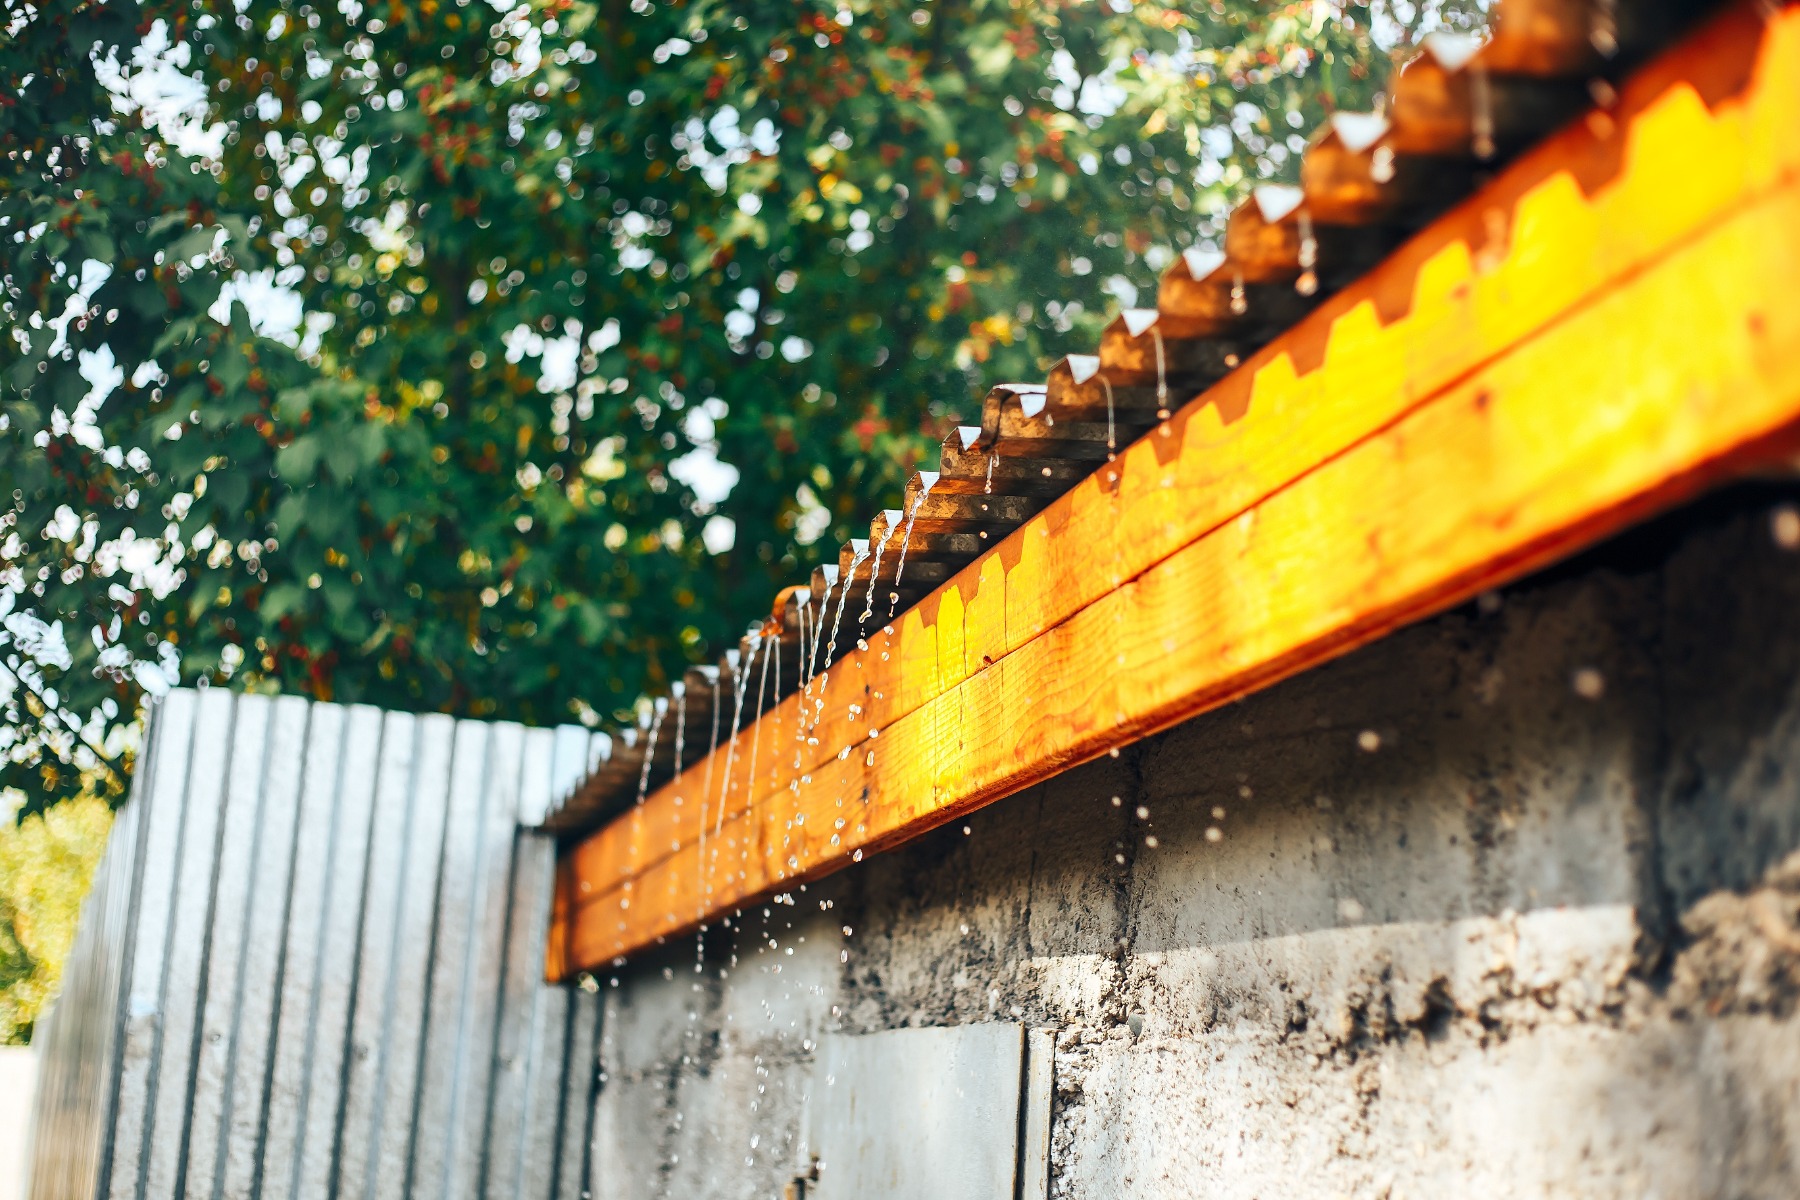
Once the tank is installed, you will need to connect it to your gutters and downpipes. This often includes installing a first-flush diverter or a leaf strainer and connecting a downpipe to your tank. You will also need to install an overflow system to ensure that the tank does not backflow during heavy rainfall, and overflow is guided away from the pad the tank is sitting on.
Install a pump and filtration system
To use the water stored in your tank, you will need to install a pump and, if required, a filtration system. If this requires the installation of a power outlet, be sure to use a qualified electrician. This will allow you to transfer the water from the tank to your garden or other areas where it is needed. Be sure to follow the manufacturer's instructions carefully when installing the pump and filtration system to ensure it is installed correctly.
By following these steps, you can successfully install a rainwater tank on a sloped or uneven surface and with proper care and maintenance, your tank will provide a sustainable source of water for years to come.
If you have any questions or need additional information, talk to the expert Rapid Plas team to find out how we can help you. Call our team on 1800 816 299 or email sales@rapidplas.com.au with your enquiry.
Installing a rainwater tank on sloped or uneven land
- By Rapid Plas
- Apr 3, 2023
